How to Track Workout on iPhone: Complete Guide for Strength Training

Why iPhone Workout Tracking Matters for Strength Training
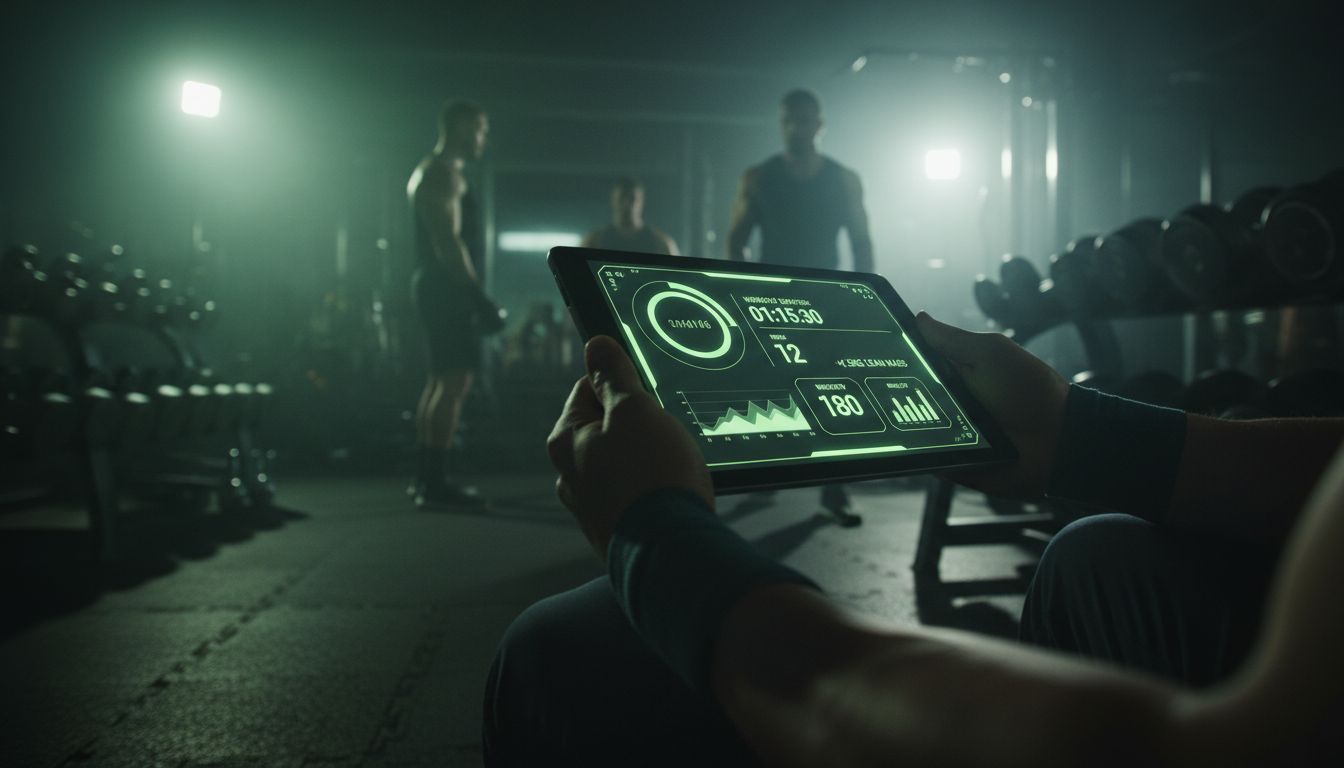
Your iPhone already lives in your gym bag. Why not put it to work tracking your progress?
Most lifters know they should track their workouts, but many still rely on memory or scribbled notes that get lost. The problem isn't commitment—it's finding a system that actually works when you're between sets, sweating, and focused on your next lift.
The good news: your iPhone offers multiple ways to track workouts, from Apple's built-in Health app to specialized strength training tools. This guide walks through every method, so you can choose what fits your training style. Whether you're following a structured program or just want to remember what you lifted last week, there's an approach here that'll work.
Understanding Your iPhone's Built-In Fitness Tracking
Before downloading anything, let's look at what your iPhone already offers.
The Health App: Your Fitness Data Hub
Apple's Health app comes pre-installed on every iPhone. It's designed as a central repository for all your fitness data, pulling information from various sources—your Apple Watch, third-party apps, and manual entries.
For strength training specifically, the Health app can track:
Workout duration and calories burned
Active energy expenditure
Heart rate data (if you have an Apple Watch)
Basic workout categories
The limitation? Health doesn't track individual sets, reps, or weights. It's more of a dashboard than a workout log. You'll see that you did a "Strength Training" session for 45 minutes, but not that you benched 185 pounds for 5 sets of 5 reps.
Apple Fitness App Basics
The Fitness app (formerly Activity) focuses primarily on closing your activity rings and tracking cardio metrics. While you can log strength training sessions, the data captured remains fairly surface-level.
To log a workout in the Fitness app:
Open the Fitness app
Tap the "+" icon
Select "Strength Training" from the workout types
Enter duration and calories (if known)
Save the session
This creates a record that you worked out, which helps with consistency tracking. But if you want to know whether you're actually getting stronger—whether you're lifting more weight or completing more reps than last month—you'll need something more detailed.
Step 1: Choose Your Tracking Method
The first real decision is picking your tracking approach. This depends entirely on your training style and what information matters to you.
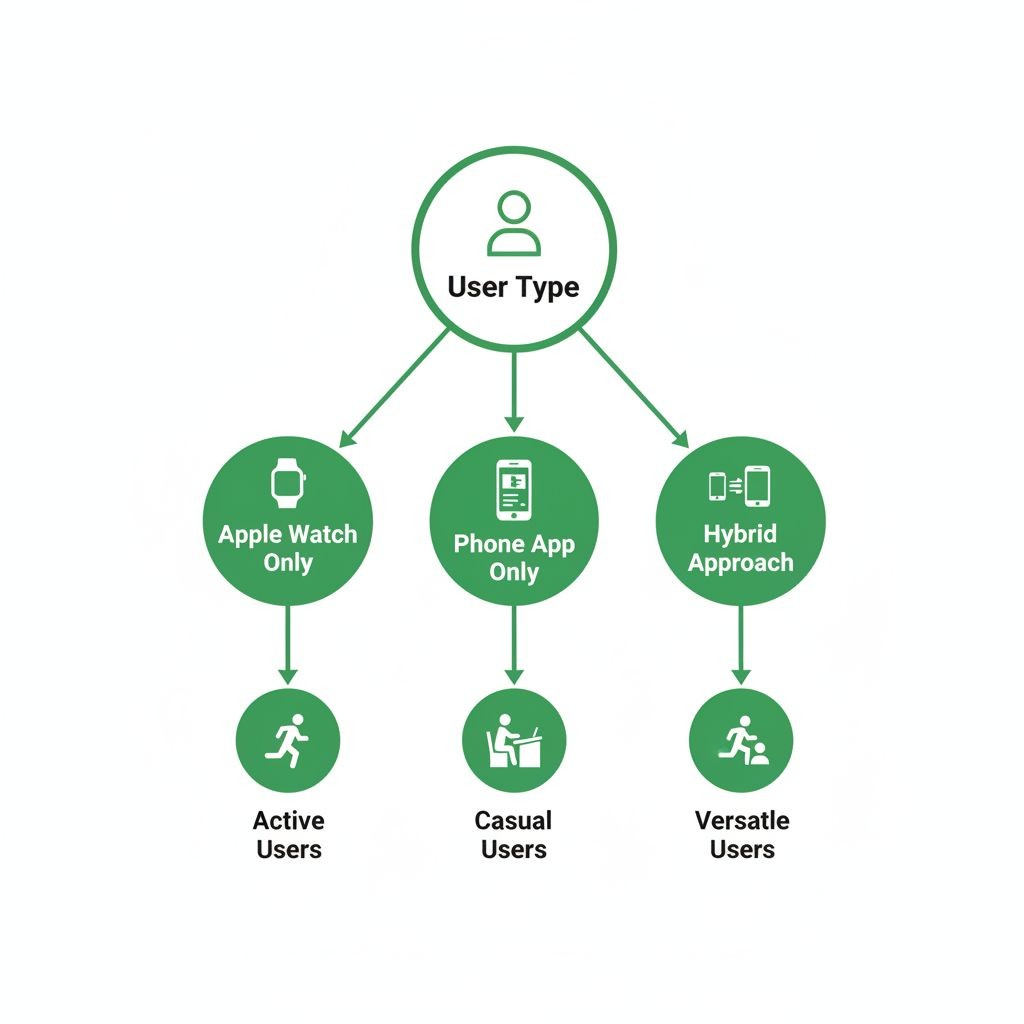
Option A: Apple Watch + Workout App
If you own an Apple Watch, you can start workouts directly from your wrist. The built-in Workout app tracks time, heart rate, and calories with reasonable accuracy.
To track strength training on Apple Watch:
Open the Workout app on your watch
Scroll to "Strength Training"
Tap to begin
The watch tracks your heart rate and active time
Swipe right and tap "End" when finished
The watch automatically pauses when you rest and resumes when it detects movement. This works well for tracking overall session metrics, but again—no set-by-set details.
Option B: Dedicated Strength Training Apps
This is where things get interesting for serious lifters. Specialized apps designed for strength training offer features that Apple's built-in tools simply don't:
Set-by-set logging (reps and weight for each set)
Exercise history and progress tracking
Rest timers between sets
Workout templates and routines
Progressive overload tracking
Personal records (PRs) tracking
The trade-off is learning a new app, but for anyone following a structured program or trying to get stronger, the investment pays off quickly.
Option C: Hybrid Approach
Many lifters use both: a specialized app for detailed strength tracking, which then syncs summary data to Apple Health. This gives you granular workout logs plus the big-picture view in Health.
[INFOGRAPHIC: Decision tree showing which tracking method fits different training styles - casual gym-goer vs. structured program follower vs. competitive lifter]
Step 2: Set Up Your Tracking System
Once you've chosen your method, proper setup makes everything smoother.
For Apple's Built-In Apps
Minimal setup required here:
Open the Health app
Tap your profile picture (top right)
Select "Health Details"
Enter your age, sex, height, and weight for accurate calorie calculations
Grant necessary permissions when prompted
If using Apple Watch, ensure it's properly paired and that the Workout app has permission to write to Health.
For Specialized Strength Training Apps
Most strength training apps follow a similar setup flow. Using a quality app as an example, here's the typical process:
Download and open the app - Most offer a free trial period to test features
Create your first exercises - You don't need to plan everything upfront. Start with exercises you're doing today. For example, if it's chest day, add Bench Press, Incline Dumbbell Press, and whatever else you're hitting.
Understand the core structure - Most apps organize around:
Exercises: Individual movements you track (Squat, Deadlift, etc.)
Workouts: Collections of exercises (Leg Day, Push Day, etc.)
Sessions: Individual training instances with date/time stamps
Configure your preferences:
Default rest timer duration (60-90 seconds is common)
Weight units (pounds or kilograms)
Plate calculator settings if available
Notification preferences for rest timers
Here's something many people miss: you don't need to create elaborate workout plans before your first session. Just add the exercises you're about to do and start logging. The structure can evolve as you use the app.
Step 3: Log Your First Workout
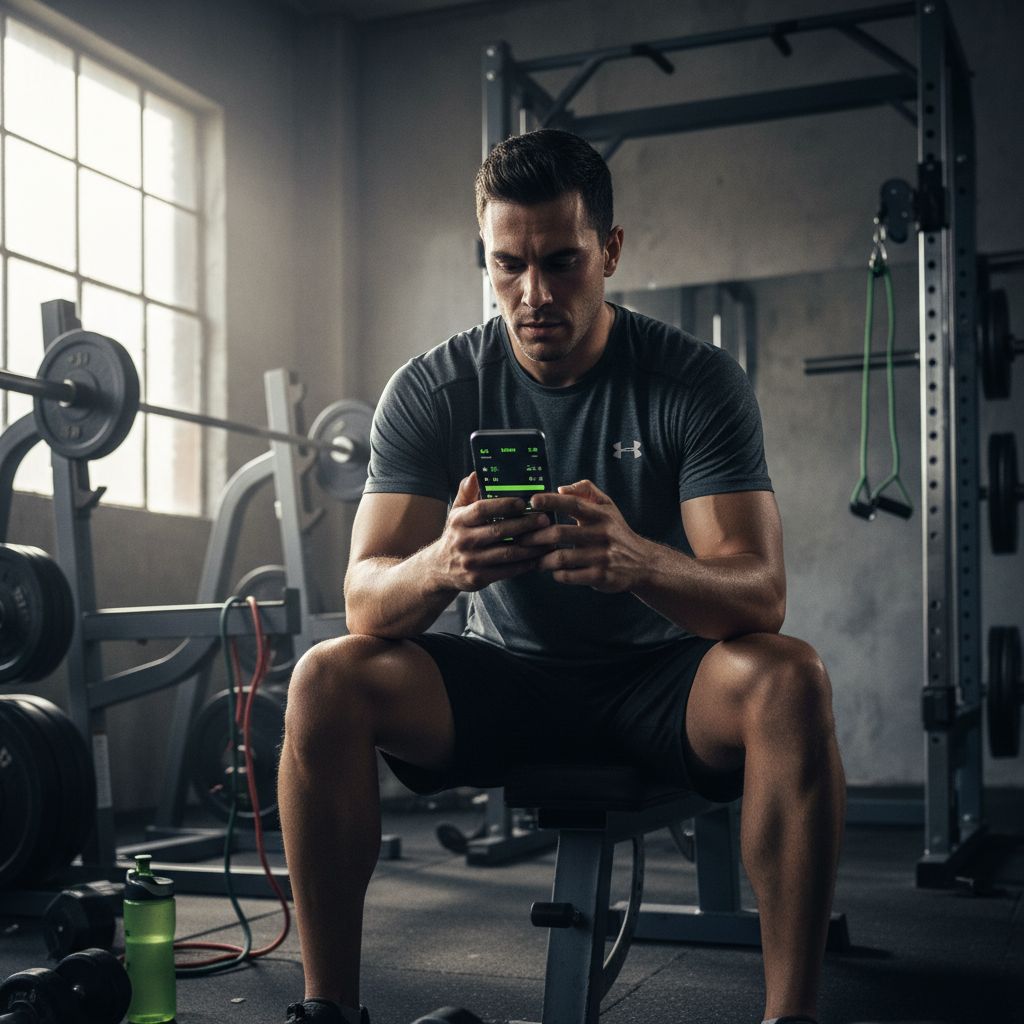
Theory meets practice. Let's walk through actually tracking a workout.
The Basic Logging Flow
Whether you're using a simple app or a sophisticated tracker, the fundamental process looks like this:
Select your exercise - Navigate to the movement you're about to perform
Review your history - Check what you did last time. This is crucial. If you benched 185 for 5x5 last week, you know your baseline for today.
Perform your set - Do the actual work
Log immediately - Record reps and weight right after completing the set. Waiting until later leads to forgotten details.
Start rest timer - Most apps auto-start a timer after logging a set
Repeat - Continue through all sets for that exercise
Move to next exercise - Select the next movement and repeat the process
Real-World Example
Let's say you're doing squats. You open your tracking app and tap on "Squat." You see your last session was three days ago: 225 lbs for 5 sets of 5 reps, but you only hit 5 reps on the first three sets (the last two were 5 and 4 reps).
Today's goal: complete all 5 sets at 5 reps with 225 lbs. You load the bar, complete your first set of 5, and immediately log it. The app shows "225 lbs × 5 reps" and starts a 3-minute rest timer.
You rest, complete set two, log it. Same for sets three, four, and five. This time you hit all 5 reps across all sets. Next session, you'll increase to 230 lbs.
This is progressive overload in action, and it only works when you track accurately.
Quick Logging Tips
Speed matters when you're in the gym. Here are shortcuts that help:
Pre-fill from last set: Good apps auto-populate the weight and reps from your previous set, so you just tap to confirm if it's the same
Swipe gestures: Some apps let you swipe on exercises to quickly log without multiple taps
Voice input: If your hands are chalky or you're wearing gloves, voice dictation can be faster
Notification logging: When your rest timer goes off, some apps let you log the next set directly from the notification
Step 4: Organize Your Workouts for Easy Access
After a few sessions, you'll have multiple exercises logged. Organization becomes important.
Creating Workout Templates
If you follow a consistent routine—say, a Push/Pull/Legs split—create workout templates. This groups exercises together for faster access.
For a Push day, you might create a workout called "Push" or "Monday - Chest/Shoulders/Triceps" containing:
Bench Press
Overhead Press
Incline Dumbbell Press
Lateral Raises
Tricep Pushdowns
Now when it's Push day, you open that workout and all your exercises are right there. No searching through a long list.
Naming Conventions That Work
How you name things affects how quickly you find them:
Day-based: "Monday," "Wednesday," "Friday" (works if your schedule is consistent)
Muscle-based: "Legs," "Back & Biceps," "Chest & Triceps"
Split-based: "Push," "Pull," "Legs" or "Upper," "Lower"
Descriptive: "Heavy Squat Day," "Volume Bench Day"
Pick what makes intuitive sense to you. There's no wrong answer as long as you can quickly identify what you need.
Using Notes Effectively
Most apps let you add notes at multiple levels:
Workout-level notes: General instructions for the entire session. Example: "5x5 for main lifts, 3x12 for accessories" or "Deload week - reduce all weights by 10%"
Exercise-level notes: Specific cues or reminders. Example: "Keep elbows tucked" for bench press or "Pause at bottom" for squats
Set-level notes: How a particular set felt. Example: "Easy, could've done 2 more reps" or "Form broke down on last rep"
These notes become incredibly valuable over time. You'll spot patterns—maybe you always struggle with squats on Mondays, or certain exercises feel better with specific warm-up protocols.
Step 5: Track Progress Over Time
Logging workouts is pointless if you never review the data. Here's how to actually use what you're tracking.
Reading Your Exercise History
Every quality tracking app shows your history for each exercise. This typically includes:
Date of each session
Sets, reps, and weight used
Volume (total weight lifted)
Estimated one-rep max (1RM)
Personal records
Before each workout, glance at your recent history for that exercise. You're looking for trends:
Are you consistently hitting your target reps?
Has the weight been increasing?
How long since you last did this exercise?
This five-second review informs your entire session. If you've been stuck at the same weight for three weeks, maybe it's time to try a different rep range or add volume.
Understanding Progressive Overload
Progressive overload—gradually increasing the demands on your muscles—is the foundation of getting stronger. Tracking makes this systematic rather than random.
You can progress by:
Adding weight (most common)
Adding reps
Adding sets
Decreasing rest time
Improving form/range of motion
Your tracking data shows which method you're using and whether it's working. If your squat has gone from 185×5 to 225×5 over three months, you're clearly getting stronger. If it's been stuck at 185×5 for three months, something needs to change.
Setting and Tracking Goals
Data without goals is just numbers. Use your tracking to set specific, measurable targets:
"Bench 225 lbs for 5 reps by end of quarter"
"Complete 10 pull-ups (currently at 6)"
"Squat 315 lbs for a single"
Some apps have built-in goal features. Others require you to track this separately. Either way, having concrete targets transforms your training from "going to the gym" to "working toward something specific."
For those interested in structured programming and goal-setting, exploring comprehensive workout planning approaches can provide additional frameworks for organizing your training.
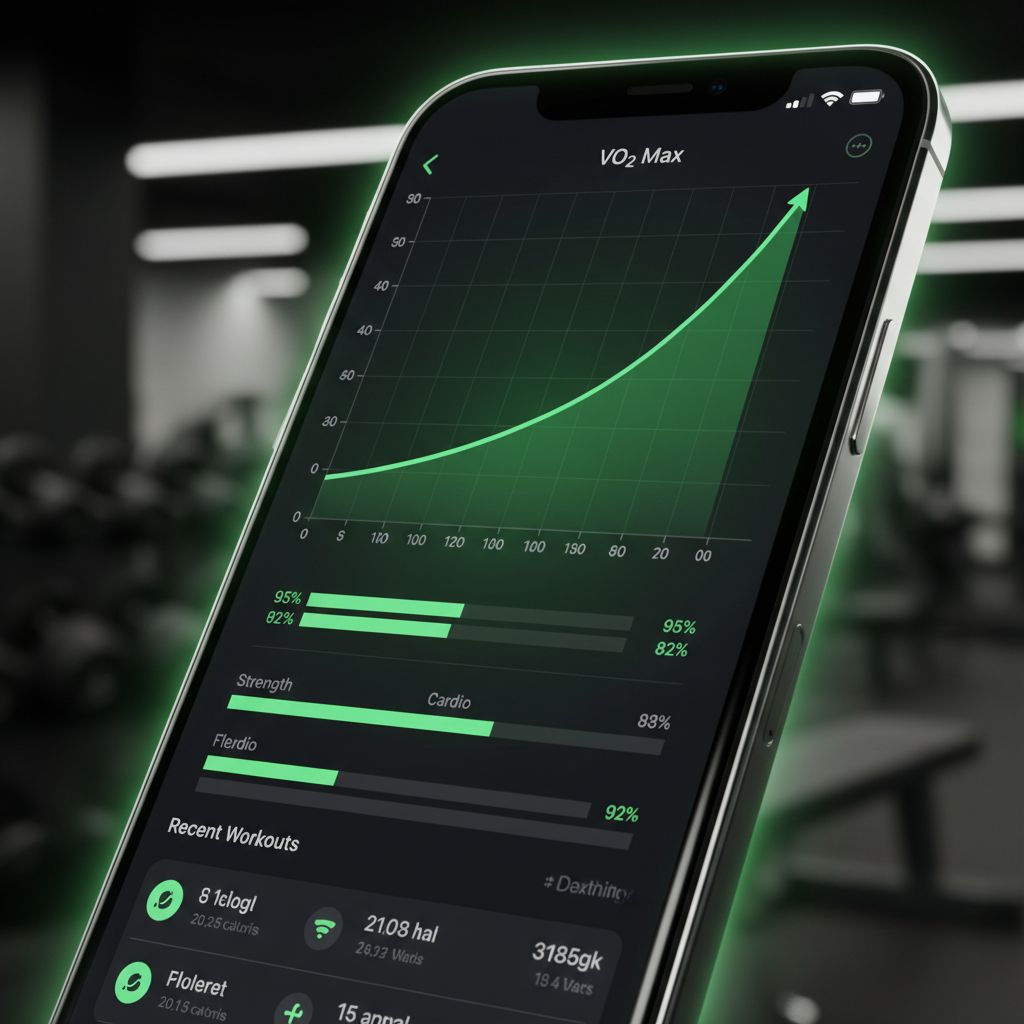
Advanced Tracking Features Worth Using
Once you're comfortable with basic logging, these features can level up your tracking game.
Rest Timers and Live Activities
Proper rest between sets matters. Too short and you're not recovered; too long and you lose the training stimulus.
Modern tracking apps offer sophisticated timer features:
Auto-start timers: Begin counting as soon as you log a set
Custom durations per exercise: 3 minutes for heavy squats, 60 seconds for bicep curls
Live Activities (iOS 16+): Timer stays visible on your lock screen, so you don't need to keep the app open
Notification alerts: Your phone buzzes when it's time for the next set
This keeps you honest about rest periods and maintains workout intensity.
Plate Calculator
If you've ever stood at a barbell trying to figure out what combination of plates gets you to 237.5 pounds, you'll appreciate this feature.
Plate calculators show exactly which plates to load on each side of the bar. Some apps even account for the bar weight automatically (45 lbs for standard Olympic bars, 35 lbs for women's bars, etc.).
This seems minor until you're doing multiple exercises with different weights. It saves mental energy for the actual lifting.
Volume and Intensity Tracking
Beyond individual exercises, tracking total training volume helps prevent overtraining and plan deloads.
Volume = Sets × Reps × Weight
If you do 5 sets of 5 reps at 200 lbs, that's 5,000 lbs of volume. Track this across all exercises in a session, and you get total session volume.
Watching volume trends helps you:
Ensure you're not doing too much too soon (injury risk)
Plan deload weeks when volume has been high
Compare training blocks to see what works best
Some apps calculate this automatically. Others require manual tracking in a spreadsheet.
Workout Summaries and Sharing
After completing a session, many apps generate a summary:
Total duration
Exercises completed
Sets and reps for each
Total volume
Personal records achieved
Calories burned (estimated)
These summaries serve multiple purposes:
Quick review of what you accomplished
Sharing with a coach or training partner
Posting to social media for accountability
Exporting for your own records
If you work with a personal trainer, being able to share detailed workout summaries helps them provide better programming adjustments.
Choosing the Right App for Your Needs
Not all tracking apps are created equal. Here's what to look for based on your training style.
For Beginners
If you're new to lifting, you need:
Simple, intuitive interface
Pre-built workout templates
Exercise demonstrations or descriptions
Minimal setup required
You don't need advanced analytics or complex periodization features yet. Focus on building the habit of consistent tracking.
For Intermediate Lifters
Once you've been training for 6-12 months, look for:
Detailed exercise history
Progress graphs and charts
Custom workout creation
Rest timer functionality
1RM calculations
PR tracking
You're past the basics and want to optimize your training based on data.
For Advanced Athletes
Serious lifters and competitors need:
Extensive exercise library
Custom exercise creation
Advanced analytics (volume, intensity, frequency)
Periodization planning tools
Export capabilities
Integration with other platforms
At this level, your tracking app is a critical training tool, not just a digital notebook.
Key Features Comparison
When evaluating apps, consider:
Must-haves:
Set/rep/weight logging
Exercise history
Rest timers
Workout organization
Nice-to-haves:
Plate calculator
Progress graphs
Cloud sync across devices
Apple Health integration
Workout notes
Advanced features:
AI-generated programs
Video recording for form checks
Community features
Coach collaboration tools
Detailed analytics dashboards
For lifters seeking a streamlined approach that balances simplicity with powerful features, Setgraph offers fast logging, comprehensive history tracking, and AI-powered workout planning—all designed specifically for strength training rather than general fitness.
Common Tracking Mistakes to Avoid
Even with the right tools, these errors can undermine your tracking efforts.
Inconsistent Logging
Tracking only your "good" workouts creates a false picture of your progress. Log everything—the days you crush it and the days you struggle. The complete data set is what reveals true patterns.
Waiting Until After Your Workout
Trying to remember all your sets and reps after finishing your session leads to inaccurate data. Log each set immediately after completing it. This takes 5 seconds and ensures accuracy.
Ignoring the Data
Collecting information without reviewing it is pointless. Spend 30 seconds before each exercise looking at your previous performance. This informs your current session and drives progress.
Overcomplicating Your System
You don't need to track every possible metric. Start with the basics: exercise, sets, reps, weight. Add complexity only if it serves a specific purpose.
Not Adjusting Based on Trends
If your data shows you've been stuck at the same weight for a month, that's a signal to change something. Don't just keep logging the same numbers week after week.
Integrating Tracking Into Your Routine
The best tracking system is the one you'll actually use. Here's how to make it stick.
Pre-Workout Preparation
Before heading to the gym:
Open your tracking app
Review today's planned workout (if you have one)
Check your recent history for the exercises you'll do
Set mental targets for what you want to achieve
This takes 2-3 minutes and dramatically improves your session quality.
During Your Workout
Keep your phone accessible but not distracting:
Place it on a nearby bench or in your pocket
Log each set immediately after completing it
Use rest timers to maintain appropriate recovery
Add quick notes if something feels off or particularly good
Post-Workout Review
After your session:
Review your workout summary
Note any PRs or milestones
Consider what went well and what didn't
Plan any adjustments for next time
This reflection process, even if brief, helps you learn from each session.
Syncing Data Across Devices and Platforms
Your workout data becomes more valuable when it's accessible everywhere.
Cloud Sync Benefits
Most modern apps offer cloud synchronization, meaning:
Your data is backed up automatically
You can access it from multiple devices (iPhone, iPad, Apple Watch)
You won't lose everything if your phone dies
Ensure cloud sync is enabled in your app settings. This usually requires creating an account.
Apple Health Integration
Many third-party fitness apps can write data to Apple Health. This creates a centralized fitness dashboard where you can see:
Strength training sessions
Cardio workouts
Steps and activity
Sleep data
Nutrition information
To enable this:
Open Settings on your iPhone
Scroll to your tracking app
Tap "Health"
Enable permissions for the data types you want to share
The app can now write workout summaries to Health, even if the detailed set-by-set data lives only in the specialized app.
Export Options
Some lifters want their data in other formats:
Spreadsheets for custom analysis
PDFs for sharing with coaches
Integration with other platforms
Check whether your app supports data export. This becomes important if you ever want to switch apps or perform advanced analysis.
Making the Most of Your Tracking Data
Collecting data is step one. Using it effectively is where the real value lies.
Monthly Progress Reviews
Once a month, spend 15 minutes reviewing your training:
Which lifts improved?
Which stayed stagnant?
What was your total training volume?
How consistent were you?
Did you hit your goals?
This big-picture view helps you adjust your programming and stay motivated.
Identifying Weak Points
Your tracking data reveals imbalances. If your bench press is progressing but your overhead press is stuck, that's useful information. Maybe you need more shoulder volume, or perhaps your technique needs work.
Planning Deloads
When your data shows multiple weeks of high volume or you're consistently missing reps, it's time for a deload week. Reduce weight by 10-20% and focus on recovery. Your tracking data tells you when this is necessary rather than guessing.
Celebrating Wins
Don't overlook this. When you hit a PR or achieve a goal, your tracking app has the receipts. Take a moment to acknowledge the progress. This positive reinforcement keeps you motivated for the long haul.
Your Next Steps
You now have a complete framework for tracking workouts on your iPhone. Here's how to get started:
Decide on your tracking method - Built-in apps for simplicity, specialized apps for serious training
Download and set up your chosen app - Spend 10 minutes getting it configured
Log your next workout - Start with just the basics: exercise, sets, reps, weight
Review before your following session - Check what you did last time and aim to beat it
Stick with it for a month - Tracking becomes valuable over time, not immediately
The difference between lifters who make consistent progress and those who spin their wheels often comes down to one thing: tracking. Your iPhone makes this easier than ever. The tools are there. The only question is whether you'll use them.
Start simple, stay consistent, and let the data guide your training decisions. Your future self—the one setting PRs and hitting goals—will thank you for beginning today.
Article created using Lovarank